Shop
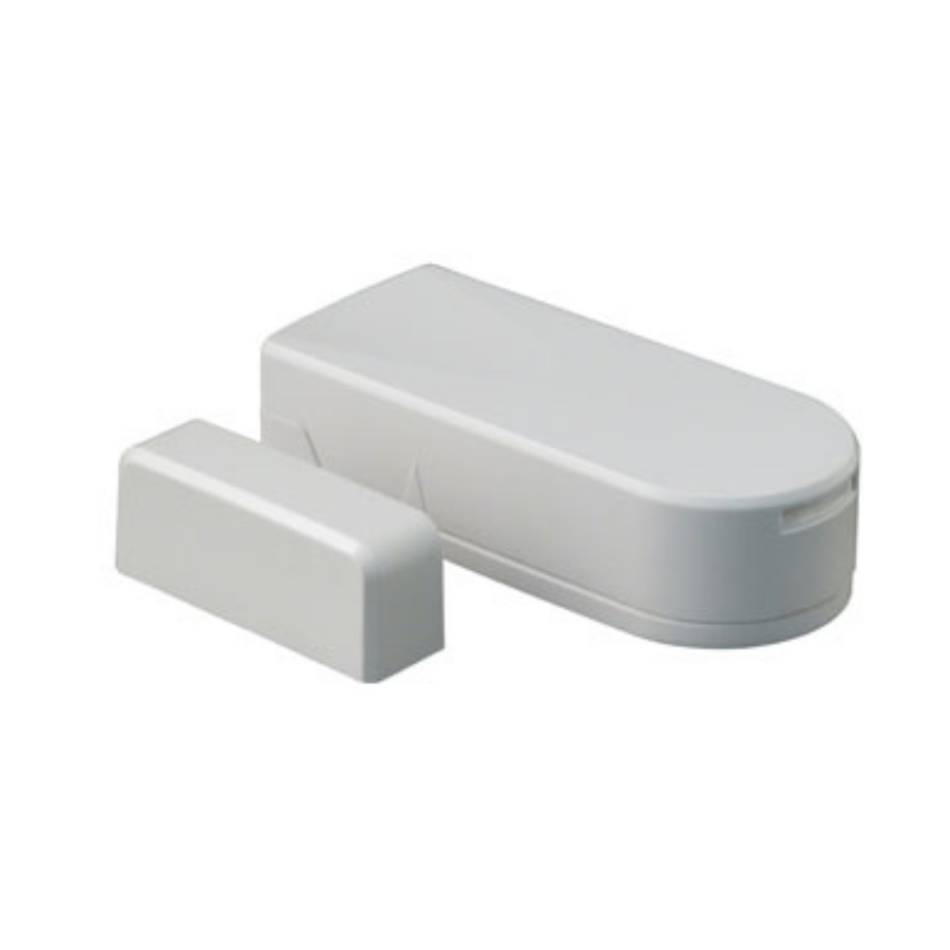
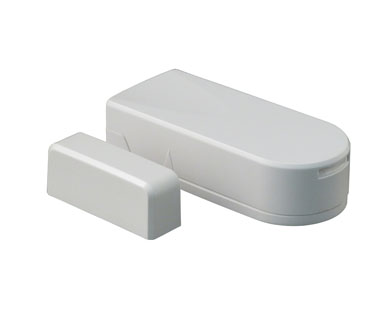
Elk Window and Shock Sensor
$ 60.00
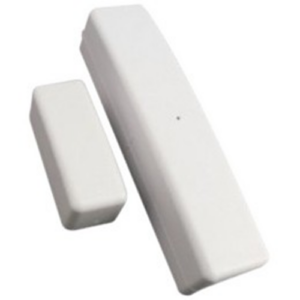
The Elk Window and Shock Sensor is a Supervised, Wireless Window Sensor designed to detect the opening of a window or vibrations made by an intruder attempting to break the window. A built-in reed switch monitors window movement and a piezo shock sensor monitors vibrations. The sensitivity and range of the piezo shock is adjustable. When the sensor activates it transmits a signal to the control panel. Additional transmitted signals include: restoral, supervisory, tamper and low battery (as needed). Sensor is powered by two (2) replaceable 3-V lithium coin-cell batteries. It is compatible with Elk’s 319MHz Receivers/Panels as well as many other panels that operateon the 319.5MHz Frequency and adhere to the ITI/Interlogix protocol.
Description
Elk Window and Shock Sensor Description:
The Elk Window and Shock Sensor is a Supervised, Wireless Window Sensor designed to detect the opening of a window or vibrations made by an intruder attempting to break the window. A built-in reed switch monitors window movement and a piezo shock sensor monitors vibrations. The sensitivity and range of the piezo shock is adjustable. When the sensor activates it transmits a signal to the control panel. Additional transmitted signals include: restoral, supervisory, tamper and low battery (as needed). Sensor is powered by two (2) replaceable 3-V lithium coin-cell batteries. It is compatible with Elk’s 319MHz Receivers/Panels as well as many other panels that operateon the 319.5MHz Frequency and adhere to the ITI/Interlogix protocol.
Features:
- Built-in reed switch and piezo shock sensor
- Adjustable sensitivity and range of shock sensor
- Long range and battery life
- Transmits open/close, tamper, low battery, as well as supervisory signals
- Also uses easy to find CR2032 batteries
Specifications:
- RF frequency:319.5 MHz
- Compatibility: Receivers/Panels & others that operate on Freq. 319.5MHz and use the ITI/Interlogix protocol
- Battery type: Two (2) 3V lithium coin-cell (Panasonic or Varta Model CR2032)
- OperatingTemp Range: 32 to 120°F (0 to 49°C)
- Storage Temp Range: -30 to 140°F (-34 to 60°C)
- Relative Humidity: 95% non-condensing
- Dimensions 2.25” L x .1.0 x 0.50” in. (L x W x D)
Programming (Enrollment):
The following is a general guideline for programming (enrolling) this sensor into the receiver or panel. For more detailed steps please refer to the receiver or panel instructions.
NOTE: THIS SENSOR ENROLLS DIFFERENTLY FROM OTHERS
The reed and piezo shock are two (2) different sensors and require their own TX identifier and zone in the alarm panel. Furthermore, the TX printed on the sensor label is for the piezo shock sensor. The TX for the reed sensor will be the shock TX plus 1. Example: If shock TX is 0A62CC7 the reed TX will be A062CC8
Programming Steps:
- Power up the sensor by pulling and removing both battery isolator tabs. DO NOT REMOVE the sensor cover. It will be done in 4.
- Place the panel into the Program mode and proceed to the WIRELESS SETUP menu.
- Select the appropriate zone/sensor location number for the piezo shock sensor.
- Start the panel sensor Enroll process. When the panel prompts to trip the sensor for learning do the following:
– Remove sensor cover to activate the tamper. The panel should acknowledge learning the sensor in by keypad display and/ or audio alert (depending on panel). If enrollment fails try putting the cover back on and repeating steps 3 and 4. - Advance to next zone/sensor location to enroll the reed switch.
- Remove both batteries from the sensor.
- Start the panel Enroll process. When the panel prompts to trip the sensor for learning do the following:
– Hold the tamper plunger down with one finger while inserting one of the batteries. The panel should acknowledge the magnetic reed switch has also been learned by keypad display and/or audio alert (depending on panel). If enrollment does not succeed remove both batteries and repeating steps 5 thru 7. NOTE: Loop assignment must be set for “ 2 “ on both sensor zones. - Proceed to the zone programming and assign the zone definition
for each enrolled sensor. - Lastly, exit programming mode when finished.
Please check out our YouTube Channel for more information.
Reviews (1)
1 review for Elk Window and Shock Sensor
You may also like…
-

Elk 4 Button Keyfob
$ 56.00 -
All Weather Wireless Door/Gate Sensor
$ 90.00 -

Elk Wireless Door/Window Mini Sensor
$ 60.00 -
 This product has multiple variants. The options may be chosen on the product page
Elk Security System Control Board
Price range: $ 890.00 through $ 1,040.00
Related products
-

Elk M1 LCD Recessed Keypad
$ 300.00 -

Elk Wireless Transceiver
$ 300.00 -
Elk Battery Shelf
$ 35.00 -
 This product has multiple variants. The options may be chosen on the product page
Elk Ultra-Thin Door Sensor
Price range: $ 115.00 through $ 120.00
Cristen Cordova –
I am glad that I found this product. It’s one of the best safety devices I have installed at home.