Shop
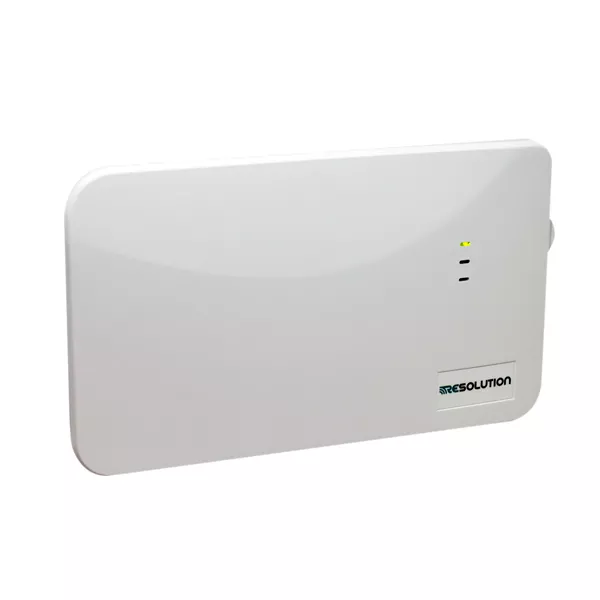
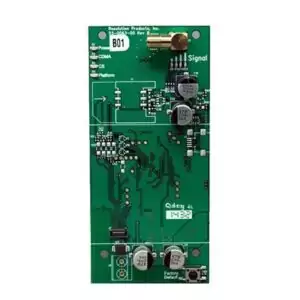
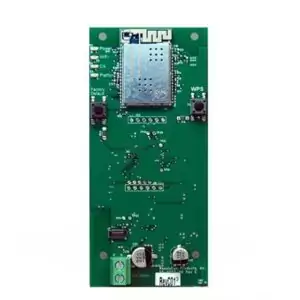
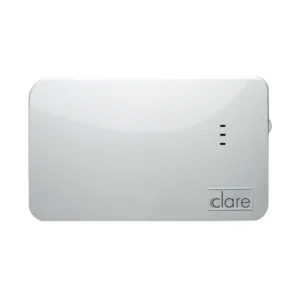
Universal Hardwire to Wireless Translator
$170.00
The Universal Hardwire to Wireless Translator is needed when you want to install a Wireless Panel like a Honeywell ProSeries, 2GIG Panel, Helix or others and there is already a bunch of pre-wiring done that you want to use. So you hook up the pre-wired zones to the translator and then it turns each one into a wireless zone. You just choose which frequency/panel you want it to transmit to.
Description
The Universal Hardwire to Wireless Translator is needed when you want to install a Wireless Panel like a Honeywell ProSeries, 2GIG Panel, Helix or others and there is already a bunch of pre-wiring done that you want to use. So you hook up the pre-wired zones to the translator and then it turns each one into a wireless zone. You just choose which frequency/panel you want it to transmit to.
Universal Hardwire to Wireless Translator is Compatible with:
- DSC, Honeywell, Interlogix, and 2GIG panels
- DSC, Honeywell, Interlogix, 2GIG, and Napco sensors
- Can even use Hardwired Translator with the Helix
Universal Hardwire to Wireless Translator Features:
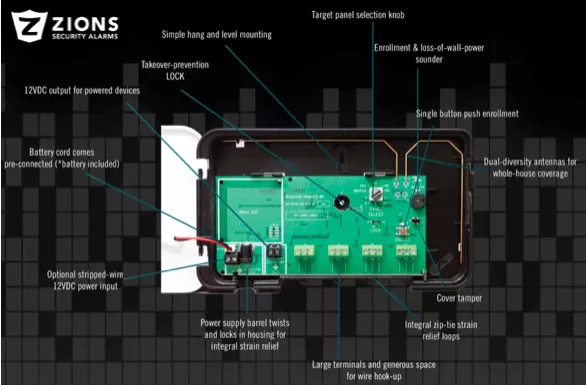
- Field configurable RF. Just set the dial to the brand of sensor and the brand of panel being installed. So you no longer need a specific model set to the specific manufacturers frequency.
- Power supply and rechargeable battery back-up is now included
- The wireless Universal Translator can operate as a repeater for all supported brands
- UL Compliant
- It can also handle up to 8 hardwired zones
- Comes with 12V power supply and terminals for options stripped-wire power input
- 12V output for powered devices so you can connect hardwired motion detectors etc…
- Cover Tamper also included
Universal Hardwire to Wireless Translator Quick Setup
Mount and Wire
- Select a mounting position and location.
- Wire the zones.
- Connect 12VDC output to powered zones, if any.
- Connect the power supply to the translator.
– Translator has a 90 second lockout after power up.
Translator Configuration
- Select the brand of panel that the translator must talk to using the “PANEL SELECT” knob.
- Configure Zones.
No zone configuration necessary for installations with normally closed zones that don’t require tamper detection.
Installations with other zone types: Refer to the Advanced Setup, step 2
Panel Enrollment
- Enroll Translator into Panel. Then Trip the translator tamper to enroll the translator into the panel (For Honeywell® and 2GIG® panels select loop 1). -or- Enter translator ID into panel. The translator’s base ID printed on the bar code label and ends with a 0.
- Next enroll Zones into panel (not required for Cryptix® Installations) With the cover open, trip each zone to enroll into to the panel (For Honeywell® and 2GIG® panels select loop 1). -or- Enter ID into panel. The zone ID is the translator’s base ID with the last digit replaced with zone number 1-8.
- Finish setup of each zone at the panel.
Finish
- Close the cover. Then Test and verify proper operation of the sensors at the panel.
- Cut the lock wire to lock the translator.
- Secure cover with screw.




Michael Donahue –
Very useful product!