Shop
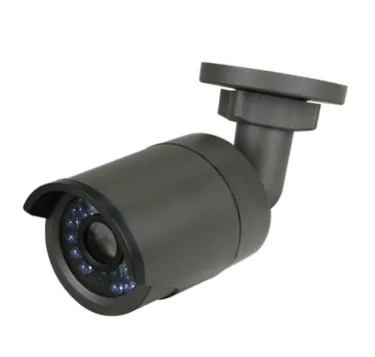
HD-TVI Bullet Camera 3.6mm 2MP
$150.00
This product has been discontinued. For replacement, check out our available Security Cameras here in our shop.
The HD-TVI Bullet Camera 3.6mm 2MP is a 1080P camera that can use Siamese or RG59 cable. It has 24 IR LEDS that can be used in dark situations to be able to see up to 65ft away, giving you great coverage at night. But keep in mind that it’s only compatible with HD-TVI DVRS (not with old analog DVRS). It’s an outdoor/indoor camera that’s super easy to mount. Additionally, with a 3.6mm lens, you have a nice wide angle that is approximately 75 degrees.
Description
The HD-TVI Bullet Camera 3.6mm 2MP is a 1080P camera that can use Siamese or RG59 cable. It has 24 IR LEDS that can be used in dark situations to be able to see up to 65ft away, giving you great coverage at night. But keep in mind that it’s only compatible with HD-TVI DVRS (not with old analog DVRS). It’s an outdoor/indoor camera that’s super easy to mount. Additionally, with a 3.6mm lens, you have a nice wide angle that is approximately 75 degrees.
Features HD-TVI Bullet Camera 3.6mm 2MP:
- High performance CMOS sensor and high resolution bring high-quality image
- Low illumination
- OSD menu, parameters are configurable
- Support auto white balance, auto gain control, electronic shutter control
- SMART IR mode
- Unit transmission control
- Advanced 3-axis design meets different installation on requirements
- Mountable with the Small Bullet Camera Mounting Bracket
Specifications:
- 1/3″Sensor
- Effective Pixels: 1920(H)×1080(V)
- Min. Illumination: 0.01 Lux @ (AGC ON),0 Lux with IR
- Shutter Speed: NTSC: 1/30 ~ 1/50,000, PAL: 1/25 ~ 1/50,000
- 3.6mm lens
- Internal synchronization
- Video Frame Rate: NTSC:1080p@30fps/PAL:1080p@25fps
- Working Temperature: -4°F – 140°F (-40 °C – 60 °C)
- Working Humidity: 90% or less (non-condensing)
- Power Supply: 12V DC
- Power Consumption: Max.4W
- IP66 Weather Proof Ratings
- IR Range: 65ft(20m)
- Dimension: 2.8″ × 5.9″ (70.0 ×149.5mm)
- Weight: 0.8lb(360g)
Installation Steps:
- Drill the screw holes and the cable hole in the ceiling according to the supplied drill template.
- Hammer the supplied plastic expansion bolt into the screw holes.
- Route the cables to the cable hole and connect the corresponding power cable and video cable.
- Fix the camera to the ceiling with the supplied screws.
- Connect to a power supply.
Additional Information
Reviews (1)
1 review for HD-TVI Bullet Camera 3.6mm 2MP
You may also like…
-
Sale
 This product has multiple variants. The options may be chosen on the product page
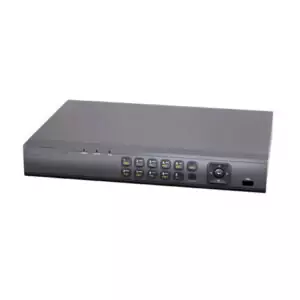
4 Channel HD-TVI DVR
$449.00 – $699.00 -
ADT Yard Sign
$10.00 -
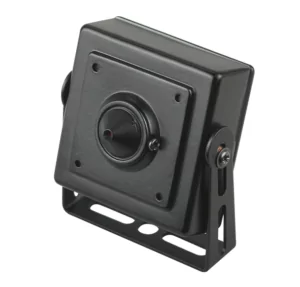
HD-TVI Covert Pinhole Camera
$149.00 -
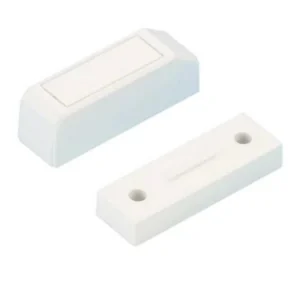
ADT Wireless Door Window Sensor Magnet
$5.00




Michael Donahue –
this is high quality camera