Shop
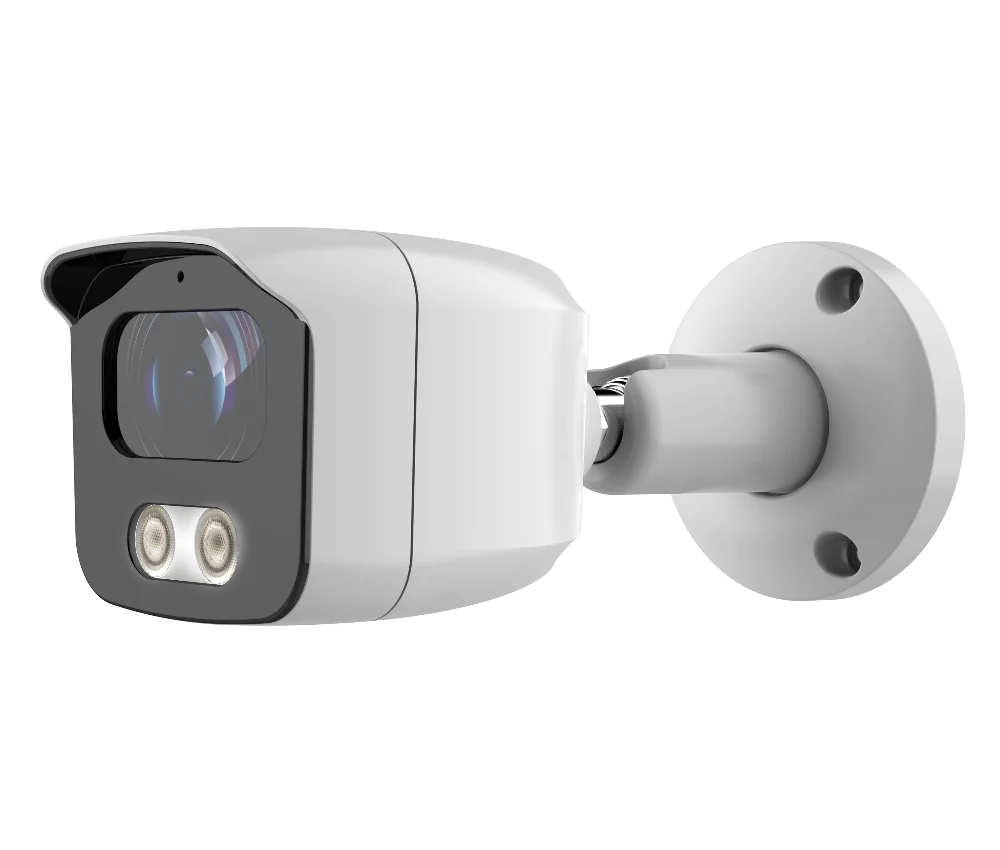
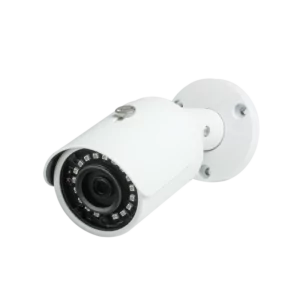
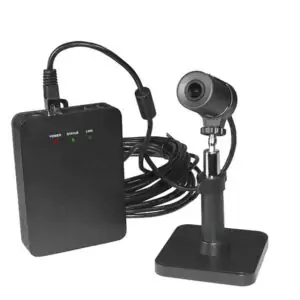
Clarevision 2MP IP Bullet Camera
$300.00
The ClareVision 2MP IP Bullet camera is a high-performance surveillance camera that records HD 1080p video at 30 frames per second. It has a wide 90° field of view and IR night vision up to 25 meters, making it suitable for both indoor and outdoor use.
Description
CLAREVISION 2MP IP BULLET CAMERA Description:
The ClareVision 2MP IP Bullet camera is a high-performance surveillance camera that records HD 1080p video at 30 frames per second. It has a wide 90° field of view and IR night vision up to 25 meters, making it suitable for both indoor and outdoor use.
The camera is compatible with ClareVision, ClareOne Home Security Panel and Control4 platforms, and can be used standalone with the ClareVision app, or integrated into a larger video surveillance system. It has a discreet bullet form factor and IP67 rating for protection against weather elements, debris and vandalism.
Main Features:
- Unified Clare Ecosystem
- Compatible with Clarevision App
- Motion detection Analytics
- 16 GB SD Card
- Improved Storage Efficiency
- POE Support
- Supports other compatible brands
- Fully compliant with regulatory requirements
- NDAA Compliant
Specifications:
- Image Sensor: 2MP
- Sensors: Standard
- Lens: 3.6 mm
- Aspect Ratio: 16:9
Minimum Illumination: 0.01 Lux, F2.0 - Field of View: 90°
- Main stream: Up to max resolution H.265+, H.265, H.264, 30 FPS
- Sub stream: 720 x 480 @ 30 FPS, H.265, H.264
- Frame rate:
2048 x 1536 @ 15 FPS
1920 x 1080 @ 30 FPS
1280 x 720 @ 30 FPS - Mirror Mode: Yes
- IR range: 25m (82ft)
- Motion Detection: Basic motion
- Power: DC 12V, 700MA, POE (802.3af )
- Weather Rating: IP67
- Operating temperature: -22° to 131° F (-30° to 55° C)
- Dimensions: 2.9″ x 2.8″ x 6.7″ (73.66 x 71.12 x 170.18mm)
Weight: 1.6 lb
Installation Guide:
1. Utilize the template provided to make a hole for the cable and drill ¼” pilot holes.
2. Connect an ethernet cable, which is already connected to the preferred POE network, to the camera’s ethernet adapter.
3. Insert the drywall anchors and use the screws provided to secure the base to the mounting surface.
4. Utilizing the hex-key provided, adjust the camera’s viewing angle by loosening the machine screws.
5. Firmly secure the camera to the base by tightening the machine screws on the side with the provided hex-key.
Please check out our YouTube Channel for more information.




Ryndell Manuel (store manager) –
Really loved that this camera supports most NVR brands!