19 May How to install the new Alarm.com Smart Chime
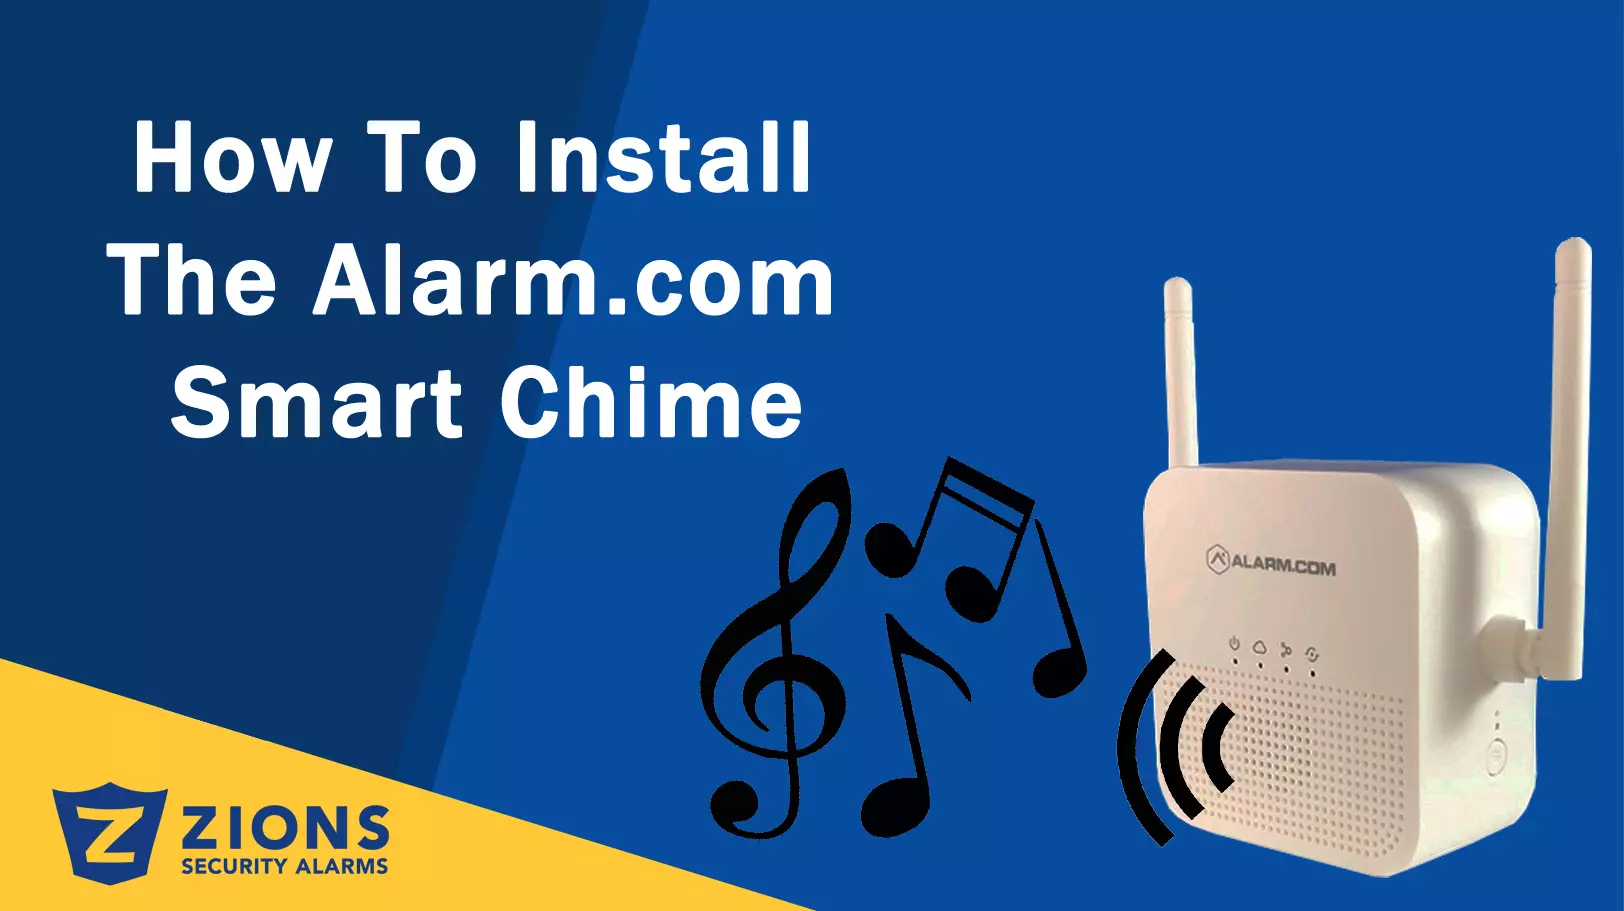
How to install the new Alarm.com Smart Chime? The Alarm.com Smart Chime is the new way to hear when someone pushes your alarm.com video doorbell. But how do you install it? Designed to work seamlessly with the Alarm.com platform, the Alarm.com Smart Chime serves as a robust Wi-Fi extender and customizable wireless doorbell chime. Simply plug the Smart Chime into a wall outlet, pair it with the existing router, add it to an account, add a doorbell camera, and enjoy boosted network signals that provide instantaneous chime notifications.
The easiest way to add the chime is to follow the installation wizard on alarm.com.
- Log in to the Mobile App. You will need the username and password of the account to log in.
- Tap the navigation
 menu.
menu. - Tap + ADD Device > Video Camera > Enter MAC Address. (If you do not see the Add Device option, please use the AP mode or WPS mode instructions below to complete your installation.)
- Follow the on-screen instructions to finish adding the chime.
Service provider technician – MobileTech installation
- Log in to MobileTech.
- Select the customer’s account.
- Tap Quick Actions > Add Device > Access Points > Smart Chime.
- Follow the on-screen instructions to finish adding the chime.
WPS mode
To ensure a sufficient Wi-Fi signal, complete these steps with the chime in close proximity to your router.
- Plug the Alarm.com Smart Chime into a non-switched electrical outlet. Wait for the Power LED to change from blinking to solid.
- Press and hold the WPS button for approximately five seconds or until the LED changes from blinking rapidly to blinking slowly.
- Activate WPS mode on your router. Consult your router’s user guide for more information. The Alarm.com Smart Chime will begin to connect to the Wi-Fi network. The Smart Chime’s Router LED will begin blinking when a connection is established and will become solid when an Internet connection is successfully established.
- Add the device to the account by either selecting the account in MobileTech or using a web browser and entering the following URL; www.alarm.com/addcamera (you will need the customer username and password).
- Begin the installation by entering the Alarm.com Smart Chime’s MAC address, located on the back of the chime or on the packaging.
- Follow the on-screen instructions to finish adding the chime.
AP mode
To ensure a sufficient Wi-Fi signal, complete these steps with the chime in close proximity to your router.
- Plug the Alarm.com Smart Chime into a non-switched electrical outlet. Wait for the Power LED to change from blinking to solid.
- On an Internet-enabled device, connect to the Wi-Fi network “CHIME (XX:XX:XX)” where XX:XX:XX is the last six characters of the Alarm.com Smart Chime’s MAC address, located on the back of the chime or on the packaging. To connect, use the Ei-Fi password located on the back of the chime, on the packaging, or on the sticker that is included in the packaging.
- Note: This configuration network will only be available when the device is not connected to the home’s Wi-Fi network while actively connected to the original network, use the Alarm.com Smart Chime’s Wireless Network Setting Page on the Customer Website.
- On the same device, open a web browser and enter: http://connect in the URL field. Follow the on-screen instructions to add the Alarm.com Smart Chime to the Wi-Fi network. The Router LED will begin blinking when a connection is established and will remain illuminated when an internet connection is successfully established.
- Add the device to the account by either selecting the account i MobileTech or by using a web browser and entering the following URL: www.alarm.com/addcamera (you will need the customer username and password).
- Begin the installation by entering the Alarm.com Smart Chime’s MAC address, located on the back of the chime or on the packaging.
- Follow the on-screen instructions to finish adding the chime.
- You can now unplug the chime and install it in its final location.


No Comments