Shop
ELK M1 RELAY BOARD
$156.00
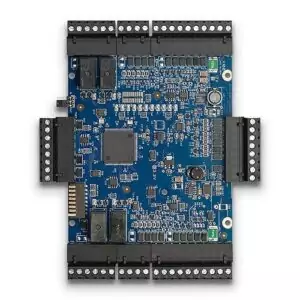
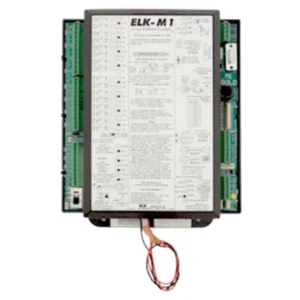
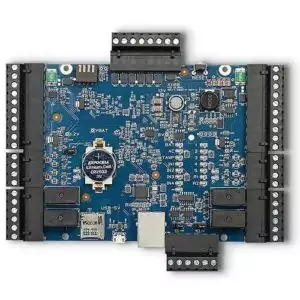
The ELK M1 Relay Board is the perfect solution for heavy-duty and high-performance applications. With its high contact rating, it is built to handle even the toughest of tasks perfect for Elk main system.
Description
ELK M1 RELAY BOARD Description
The ELK M1 Relay Board is the perfect solution for heavy-duty and high-performance applications. With its high contact rating, it is built to handle even the toughest of tasks perfect for Elk main system.
Additionally, its low current draw ensures energy efficiency and cost savings. The plug-in “removable” terminal blocks make installation and maintenance a breeze, allowing for easy access and replacement. This product is the ideal choice for those looking for a durable, reliable, and user-friendly relay board.
Main Features:
- 8 Form “C” Relays, SPDT Dry Contact
- Heavy Duty Contact Rating
- Low Current Draw.
- Great For General Purpose Switching
- Plug-in “Removable” Terminal Blocks
- LED Status Indicators on all 8 Relays
- Twelve (12) Conductor Plug-in Wire Harness
- Mounts in Enclosure using ELK-SWG Glides
Specifications:
- Diode Protection Across Relay Coil
- Relay Contact Ratings: 7 Amps @ 28 VDC, 10 Amps @ 125 VAC
- Wire Harness Length: 24″
- Operating Voltage: 12 Volts DC Nominal
- Current Draw: 0 mA idle, 250 mA Max.
- Size: 6″ x 3.25″ x .75″ H
Installation Guide:
1. The M1 Output Relay Board can be mounted inside the M1 enclosure using the supplied Circuit Board Glides. Additional relay boards and/or expanders must be mounted in Up to 8 boards.
2. To install board glides, start by loosely screwing a 6/32″ screw into the small hole of the first 2-hole pattern on the top left corner. Place the glide under the screw, ensuring the half-moon tab fits into the larger hole and the grooved edge faces down. Tighten the screw. Repeat for the second glide 6″ below, but with the grooved edge facing up.
3. Insert the M1RB Relay board into the grooves of the glides. The board should slide smoothly. If it is loose or too tight, adjust the glide by loosening a mounting screw.
Please check out our YouTube Channel for more information.



Ryndell Manuel (store manager) –
First time using this product. And It really helps me with my access control components!