Shop
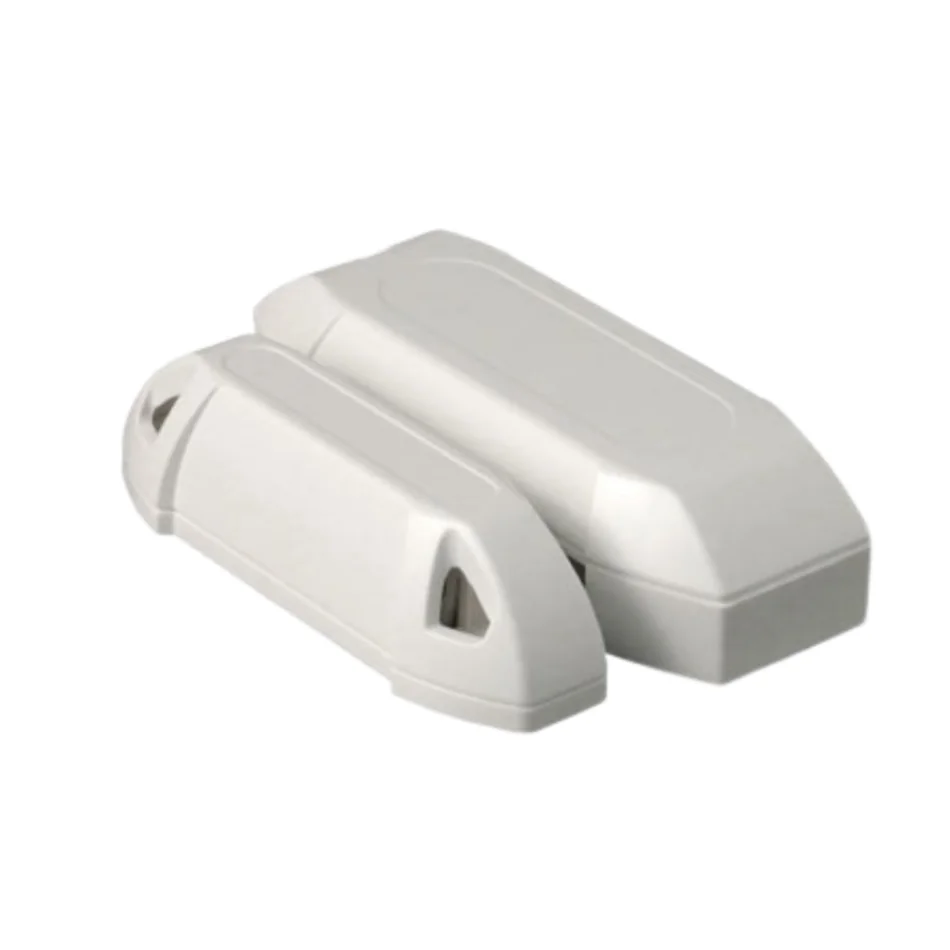
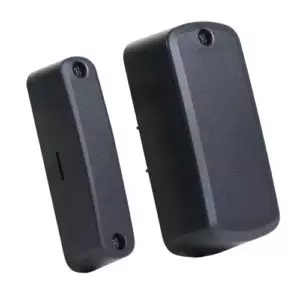
All Weather Wireless Door/Gate Sensor
$90.00
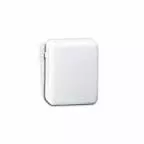
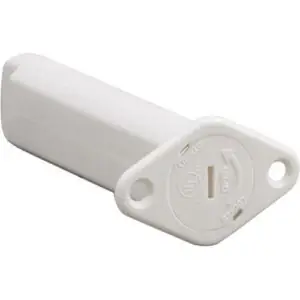
The All Weather Wireless Door/Gate Sensor is a Supervised, Wireless Sensor uniquely designed for outdoor use on swing gates or doors. The sensor and magnet mounts using screws (included), pipe strap style clamps, or plastic wire ties. This sensor was built to withstand any weather condition and continue to function after the storm. This sensor is compatible with Elk’s 319MHz Receivers/Panels as well as many other panels that operate on the 319.5MHz Frequency and adhere to the ITI/Interlogix protocol.
Description
All Weather Wireless Door/Gate Sensor Description:
The All Weather Wireless Door/Gate Sensor is a Supervised, Wireless Sensor uniquely designed for outdoor use on swing gates or doors. The sensor and magnet mounts using screws (included), pipe strap style clamps, or plastic wire ties. This sensor was built to withstand any weather condition and continue to function after the storm. This sensor is compatible with Elk’s 319MHz Receivers/Panels as well as many other panels that operate on the 319.5MHz Frequency and adhere to the ITI/Interlogix protocol.
Features:
- All weather design
- Ideal for pool areas and other outdoor gated spaces
- Long range as well as battery life
- Lastly, transmits open/close, tamper, low battery, as well as supervisory signals
Specifications:
- RF frequency: 319.5 MHz
- Compatibility: ELK Receivers/Panels & other panels that operate on the 319.5MHz Freq. and adhere to the ITI/Interlogix protocol
- Battery type: Two (2) CR2032 3VDC lithium coin-cell
- Operating Temp Range: -40 to 140°F (-40 to 60°C)
- Dimensions: Sensor 3.39” L x 1.34” W x 0.79” D, Magnet 2.36” L x 0.83” W x 0.8” D
Included:
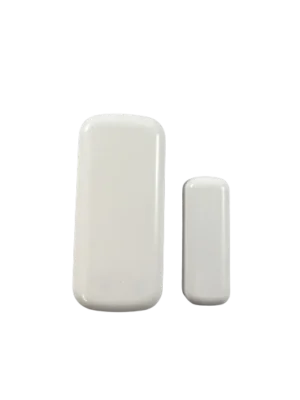
- Door/Gate Sensor & Magnet
- (2) CR2032 Batteries
- Mounting Anchors & Screws
- Instructions
PROGRAMMING (ENROLLMENT)
The following is a general guideline for programming (enrolling) a sensor into the receiver or panel. For additional extensive instructions please refer to the receiver or panel instructions.
- Place the panel into the Program mode.
- Proceed to the WIRELESS SETUP menu.
- Select the appropriate zone/sensor location number.
- When prompted by the panel to trip the sensor for learning:
• Remove sensor cover and remove battery pull tabs to power up the sensor. Press and release the tamper plunger.
• The panel should acknowledge the sensor has been learned by keypad display and/or audio alert (depending on the panel). Furthermore, if enrollment fails try pressing and releasing the tamper plunger a second time. In some cases it may also be necessary to remove and reinstall the batteries. - Repeat the above process for any additional wireless sensors. Proceed to the zone programming to assign each sensor’s zone definition.
- Lastly, exit programming mode when your finished


Cristen Cordova –
It works well with great results. I will definitely recommend this product.