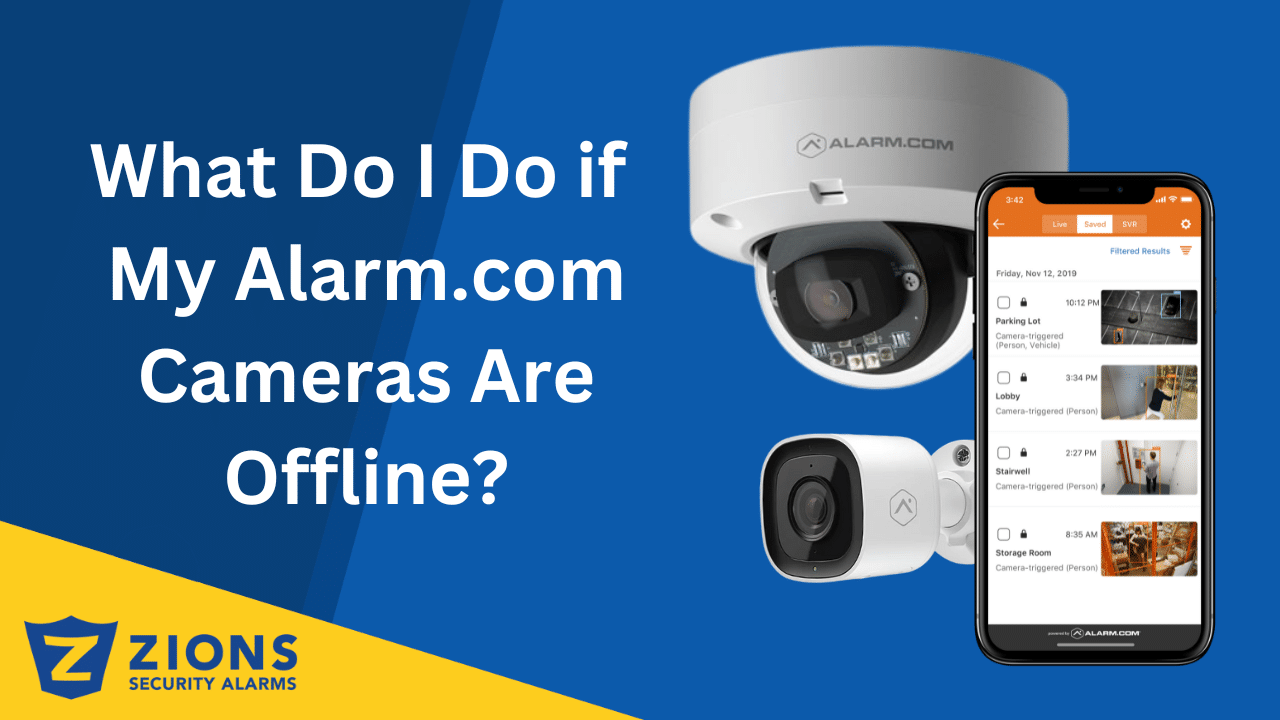
21 Sep What Do I Do if My Alarm.com Cameras Are Offline?
Are your alarm.com cameras offline? Whether you have the Alarm.com Indoor Pan Tilt Camera, Alarm.com 1080P Dome Camera, Alarm.com Turret Camera, the Alarm.com Bullet Camera, or any other Alarm.com camera, here’s a quick run-through of what you can do to get your cameras back online, so you can start protecting your home/business.
We’ll have your Alarm.com cameras offline back up and running in no time at all!
Alarm.com Camera Troubleshoot Guide
First, let’s run through a couple of quick things you should check to see if you can get your Alarm.com camera back online immediately. We’ll then run through one of the most common reasons why people’s Alarm.com cameras go offline and give you the solution!
Check Your Power
It may go without saying, but check to see that your Alarm.com cameras, your router, and other devices are securely plugged in. One of your devices may not be properly connected, or an outlet may be out, causing issues with your camera.
Reboot Your Device
First, try and reboot or power cycle your router. To restart your camera, follow these steps:
- Press the reset button and hold it. After doing this, the light should flash, alternating from red to green.
- Keep pressing the button until the light is a solid red and turns off. This will take about 15 seconds.
- Release the button and unplug the power source for 10 seconds
Ensure Your Camera Is Within Range
Your video camera may be out of the wireless router’s range, depending on where you have it installed. This may cause a weak signal or cause it to remain offline.
If that’s the case, move the camera closer to the router and try to reconnect to the network. You may also consider a WiFi extender, like the ADT Pulse Wifi Extender, to help extend the range to your camera.
Did You Recently Replace Your Router Or Modem or change your WiFi Password?
One of the most common reasons why people’s Alarm.com cameras are offline is if they replaced their router or modem. If you’ve done this recently, you’ll need to follow these steps to connect your Alarm.com camera again and get it back online.
Here’s how to reconnect your camera to a WiFi network using WPS:
- Find the WPS button that is located on the router. (This may be a button with a lock icon or two arrows forming a circle)
 (If your router does not have a WPS button proceed to try these other methods, Access Point or Wired Connection)
 - Find the WPS button located on the camera. It may be labeled with WPS. Hold the WPS button for 2-3 seconds, until the LED light begins to flash blue.
- Next, press the WPS button on the router for 1-6 seconds until the light flashes on the router.
- Allow a couple of minutes for the router and camera to connect to each other. You’ll notice that the LED light on the camera will change from blue to green, and to red. The LED light should stay at one color for a few minutes, then you can continue to step 6.
- Depending on the LED color that is reflected on the camera, follow the steps below:
Solid Green: This means that the camera is connected to the internet.
– If you need to troubleshoot because you can’t view live video, power down the camera and then view the live video once the light has turned solid green. Also, double-check that the router the camera is connected to has an internet connection.
Flashing Green: This indicates that the camera doesn’t have a complete internet connection but is still able to speak to the router.
– If you need to troubleshoot, power down the camera for a couple of seconds and then reboot it. If it continues to flash green, next power down the router for a couple of minutes, then power the router back up, and then connect again via WPS.
Solid Red: The camera can’t connect to the network.
-This may mean that the camera is too far away for the WPS to work.
Here’s how to reconnect your camera to the WiFi using an Ethernet cable:
- Power down the camera.
- Plug the ethernet cable into the camera and into the router. (If your router has LAN ports that are available, you can use any of those slots)
- Power up your camera
- Once the camera is powered on, the LED light turns to a solid green.
- Next, program the new wireless information:-Log into the Customer Website and click on Video.
-Find Settings and click on that.
-Select the appropriate camera under the Video Device dropdown.
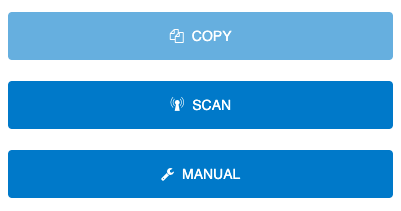
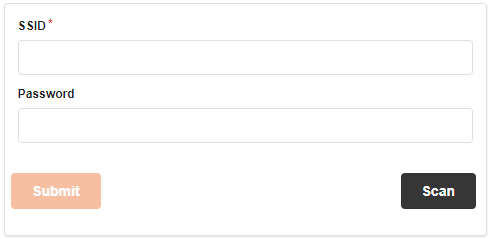
-Select Wireless Network and click Scan
-After the scan is complete, select the network name
-Enter the password for the wireless network and click continue
If the LED light turns solid green after you power-cycled it, check the camera to ensure you can see live video on the app or website.
If you can’t view live video, follow this guide:
Flashing red/green: This means the password you entered may have been incorrect.
-Repeat the setup steps above and enter your wireless password again.
-If the LED light is flashing green for 2+ minutes, power down the camera, wait a few seconds, then power it back on.
Flashing green and not going to a solid color: The camera is trying to communicate with the wireless network but can’t connect.
-Power down the camera, wait for a few seconds, then power it back on. Allow the camera to boot up. If the LED still flashes green for several minutes, power down the router for a minute, then power it back on. Then wait for the internet connection to re-establish.
Here’s how to reconnect your camera to a Wi-Fi network using Access Point mode:
- Hold the WPS button on the back of the camera for several seconds. The camera will flash blue and then white. Once it flashes white, release the WPS button.
- Use a computer or smart device to connect to the ALARM (##:##:##) Wi-Fi network or ADC-V723(XX:XX:XX). The number signs indicate the camera’s MAC address.
- Open up a web browser on your same smart device(phone or iPad) or computer and enter 192.168.1.1.
- Choose a language and then on the next screen click the Scan button to search for your WIFI network.

- Click on the name of the Wi-Fi network.
- Enter the security key (the Wi-Fi password).
- Select OK.
- When the camera’s LED light is a solid green, attempt to view live video on the website or app.
- If the LED doesn’t turn solid green, repeat the steps again.
**If none of those steps above worked, try them again, and if you are convinced they are not working you can delete your camera from the account, do a factory reset, and then try to connect the camera again.
Have Any Other Alarm.com Video Camera Questions?
Do you have any questions that we didn’t answer about getting your Alarm.com camera back online? Make sure to leave a comment below!
If you’re looking to add any other security devices to your home or business, click here!
Brett
Posted at 17:34h, 07 DecemberCan I add any wireless video cameras to my system? How do I get them on my alarm.com network?
admin2
Posted at 06:43h, 22 JanuaryNo you can only add alarm.com cameras. You can add them under video if you have a video enabled service plan.
Terry Benoit
Posted at 14:10h, 08 OctoberI have a Alarm.com camera that I replaced after Hurricane Laura and can see it on phone and computer, but not on svr monitor.
Jacob Menke
Posted at 08:54h, 12 OctoberYou have to assign it back to the svr
Kim
Posted at 17:28h, 25 AugustWhen your alarm.com cameras are offline will they still record activity?
Jacob Menke
Posted at 08:11h, 31 AugustNot unless you have them connected to an SVR or a micro SD card.